 Screen Recorder
How-to guide
How to record part of your screen on a Mac
Record one region of a Mac screen instead of the whole display, using area selection in Screen Recorder.
The short answer
To record part of a Mac screen in Screen Recorder, open the app, choose Area, then drag a rectangle over the region you want. Screen Recorder dims everything outside the rectangle and captures only the area inside it. Press Stop when finished, and the recording opens in the built-in editor.
Steps
- 1.Open Screen Recorder. Launch Screen Recorder on your Apple silicon Mac. macOS asks for Screen Recording permission the first time, which you grant in System Settings under Privacy & Security.
- 2.Choose Area. Select Area in the Screen Recorder start window. Full Screen captures the whole display instead.
- 3.Drag the rectangle. Drag from one corner of the content to the opposite corner. Screen Recorder dims the screen outside the rectangle so the capture boundary stays visible.
- 4.Leave room for menus. Include space for any menu or popover that opens during the recording. A menu that opens outside the rectangle does not appear in the video.
- 5.Record and stop. Start the recording, perform the actions, then press Stop. Screen Recorder opens the clip in its editor with no import step.
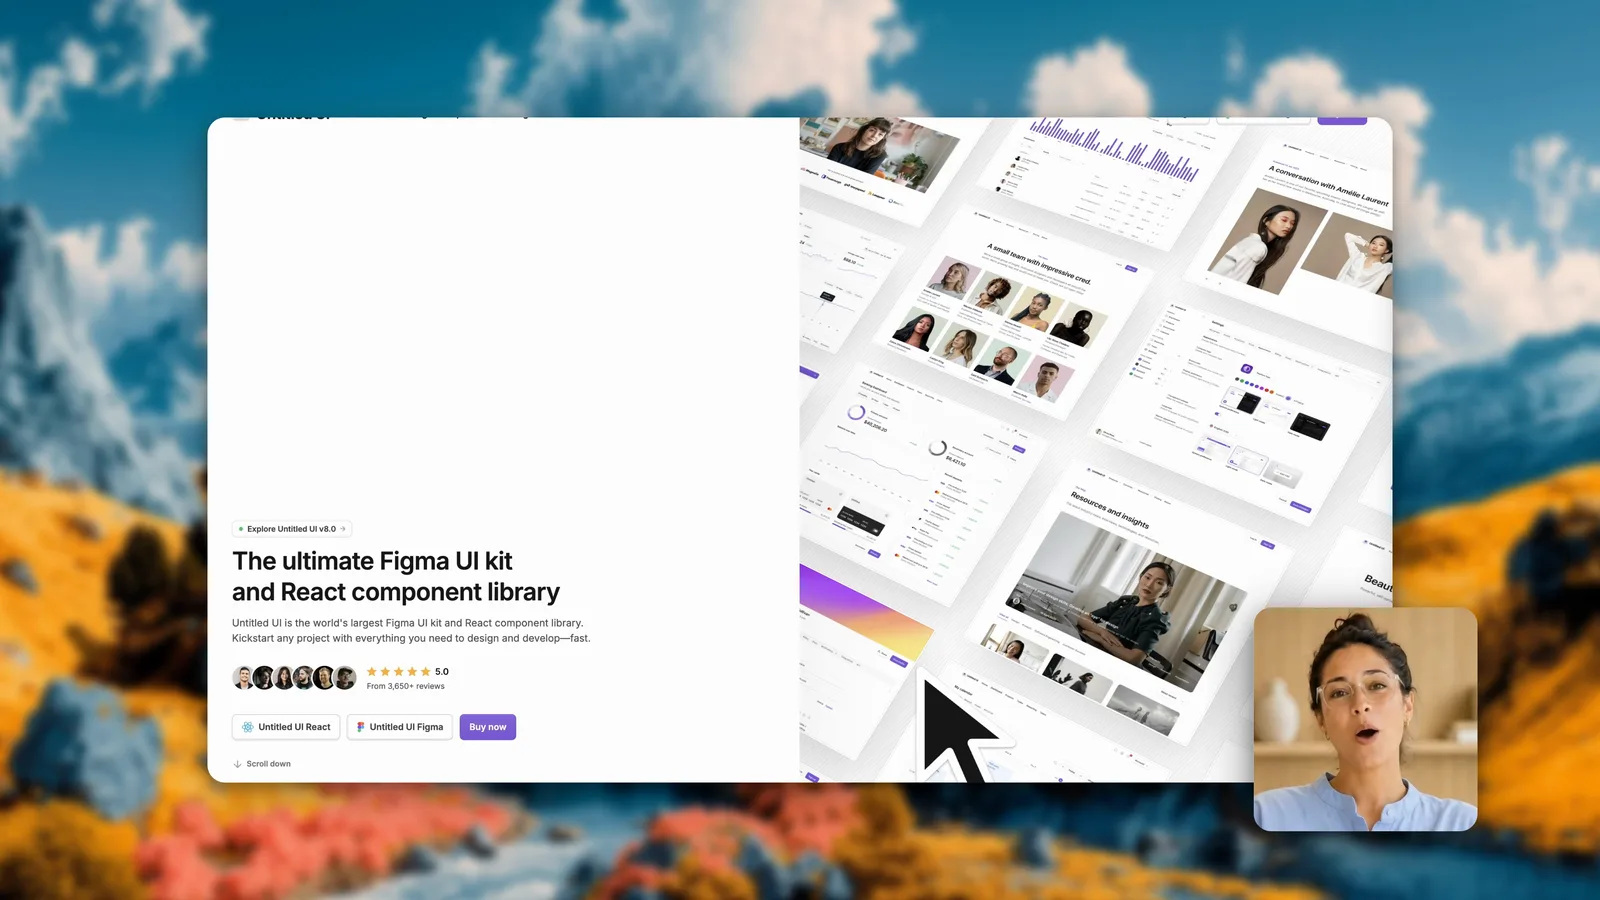
How do you choose the right recording area?
Pick the smallest rectangle that still contains every interaction the viewer needs to see. A tight area makes text readable on a phone, because the captured pixels are not scaled down to fit a small screen.
Include the menus. A dropdown, a context menu, or a system dialog that opens outside the selected rectangle will not appear in the finished video, and the viewer sees a click that seems to do nothing.
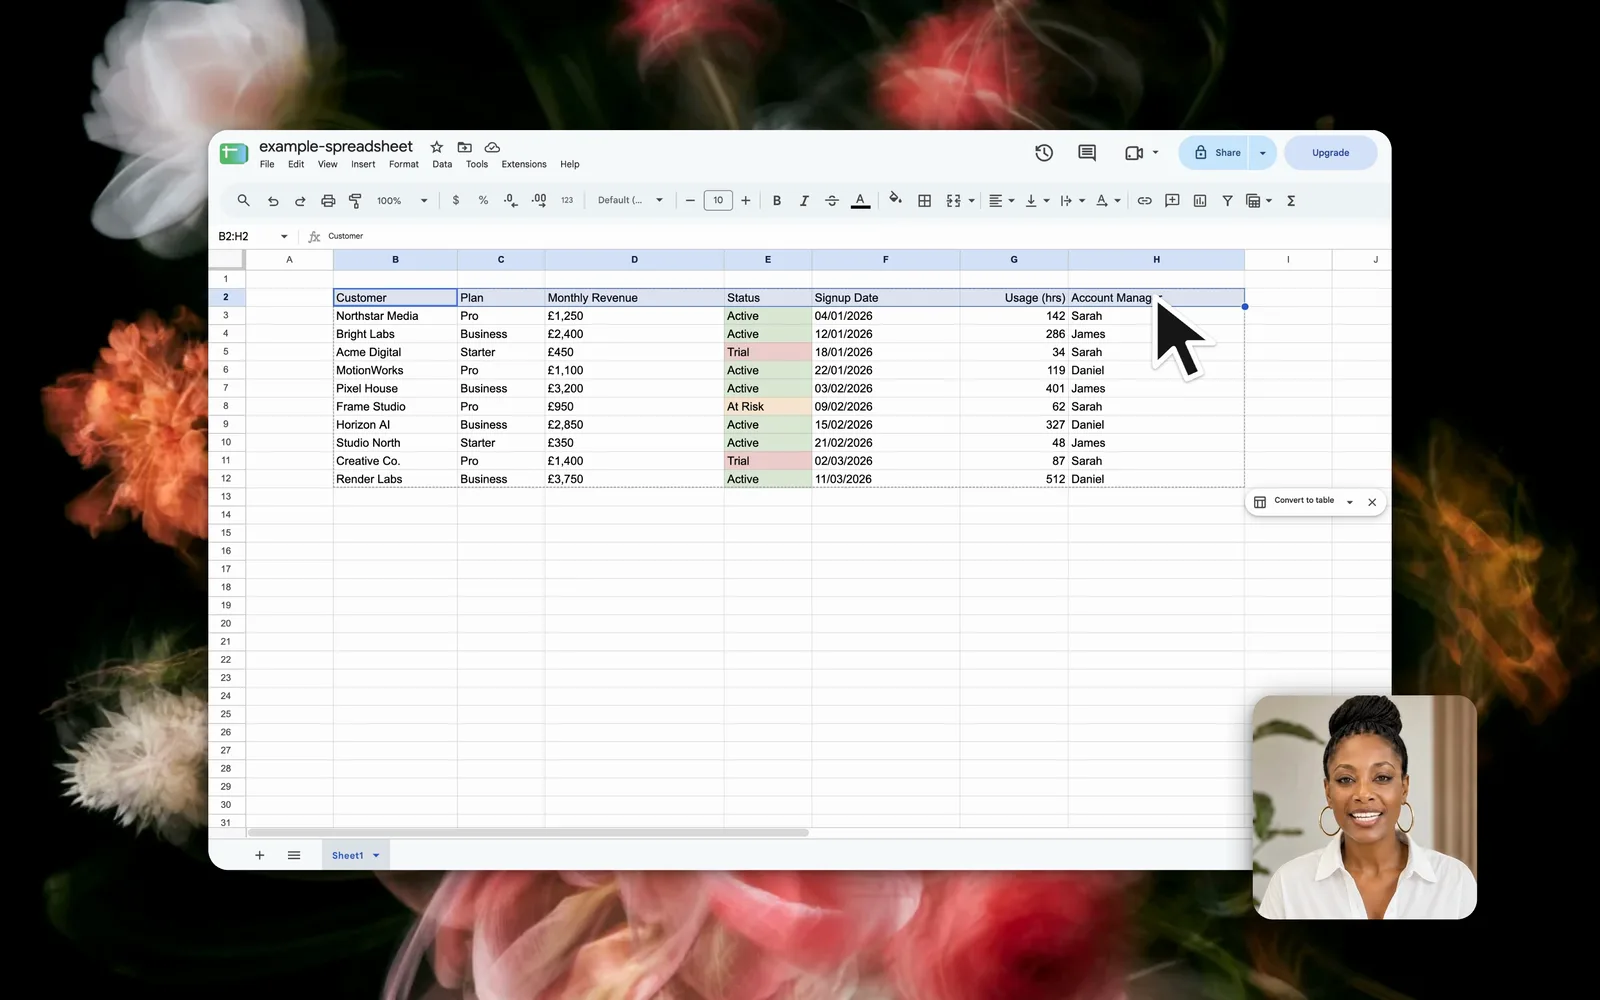
Why does the frame need to stay still?
Do not move or resize the source window after recording starts. The Screen Recorder selection stays fixed to the screen, not to the window, so a window that moves drifts out of frame.
A stable frame also keeps the viewer’s attention on the interaction rather than on the movement of the window itself.
Tip: Leave a small margin around the interface so menus do not feel cramped against the edge of the frame.
What comes after the recording?
Screen Recorder opens the clip in its editor as soon as recording stops, with no import step. Trim the start and the end, then export an MP4 at the source dimensions.
Frequently asked questions
Can Screen Recorder capture one part of a Mac screen?
Yes. Screen Recorder captures a selected area on Apple silicon Macs, with no account and no watermark. macOS also includes area recording through Shift-Command-5, but that tool has no built-in editor.
Why is my menu missing from the area recording?
A menu that opens outside the selected rectangle is not captured, because Screen Recorder records only the region inside the selection. Redraw the area with extra room around the interface and record again.
Can you move the selected area while recording?
No. The area is fixed once recording starts. Stop the recording and draw a new rectangle if the region is wrong.
Where does Screen Recorder save an area recording?
Screen Recorder saves recordings to the Movies/Screen Recorder folder on your Mac. Files stay on the computer and are not uploaded anywhere.